The following 101, on building a pallet wood chicken coop, comes from Susan Denise Cross, a HOMEGROWN contributor from across the pond. You can follow all of her adventures on her blog, The Green Lever, and learn more about her approach to raising poultry at The Holistic Hen. Thanks so much, Sue, and please keep hammering out the great ideas!
The Back Story
I’m Sue Cross and I live with my husband, Dr. Andy Colley, plus a selection of rare-breed bantams, quail, and fantail pigeons on an organic homestead in La Baie de Mont Saint Michel, Normandie, France. We both come from a long line of avid reusers, repurposers, and lovers of what now has become known as “shabby chic.” In this 101, I’m going to share the sourcing, design, and construction of our pallet wood chicken coop, or as we call it, our hen house.
In 1999 a hurricane took away our roof whilst we were on Christmas vacation at the 300-year-old ruin that was then our holiday home. As we had already decided to sell our house in England, give up our careers, and become happy self-sustaining peasants, it seemed a good time to go over permanently, if only to fix the roof!
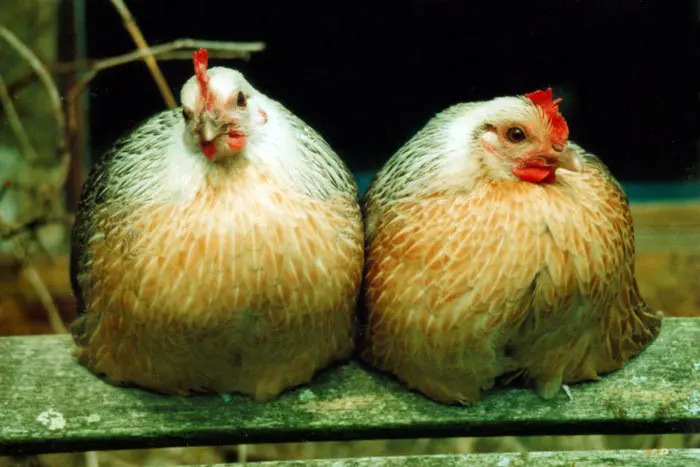
In late summer of 2000 we received our first pair of hens, two rare-breed Ardenner bantams named Pouledini and Chicklette, in part payment for looking after a neighbouring homestead whilst the owners were abroad. I grew up on a mixed arable farm with 3,000 hens and 300 free-range turkeys, so this was real micro, or I might say nano, farming, but after many years living and working in towns and cities, I finally felt I’d come home. Happily, Andy felt the same. He’d been born in the heart of the industrial Midlands and spent many years in industry as an engineer before going back to university, but he loved the countryside and was thirsting to have the space to work on his own projects.
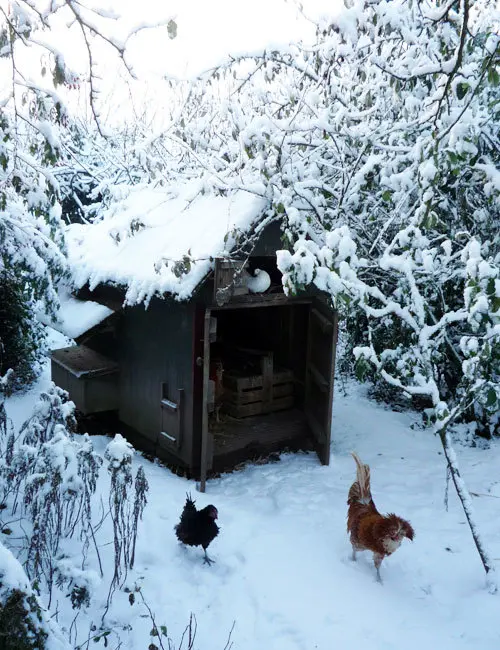
Our first project was a hen house for the Ardenner sisters, who, with the fruits of more hen-sitting, had been joined by Dorothy, the Wyandotte cross. Orlando and Dorabella, a purchased pair of Sebrights, followed shortly, as did Frizzante, a re-homed apricot Frizzle! The hen house was inspired by a pile of old, worm-eaten but serviceable floor boards, victims of the hurricane, that were being thrown out by a neighbour. We turned them into a small Japanese-style hen house, complete with a split bamboo roof, also repurposed from a neighbour’s discarded prunings. Over the years, and with more additions to the flock, this house took its share of battering from the vagaries of the climate. It is only today, however, 14 years on, that we are about to dismantle it and put up another pallet wood hen house of the following design in its place.
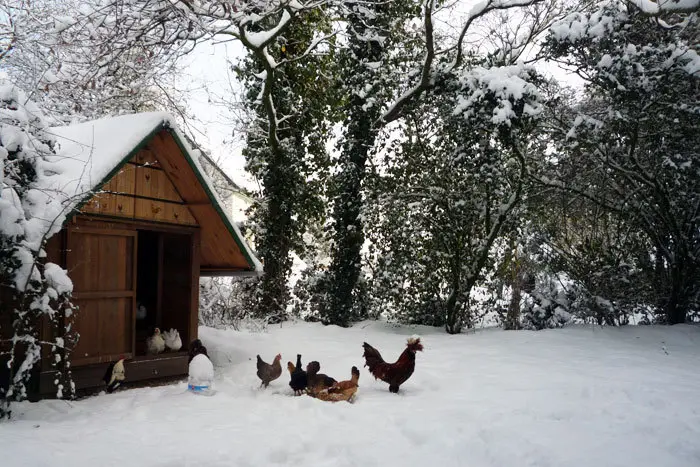
A word on our setup here: We have 1,000 square meters of organic forest and walled and hedged garden, with three hen houses, from which each flock has formed its own territorial but quite fluid boundaries. Take a video tour through our garden and meet some of the flock:
Design Criteria
“Fit for purpose” is a phrase dear to both our hearts. One of the things I learnt from our beloved Japanese design was: Never make a house you can’t stand up in! The other was: It never rains in Normandie. This is supposed to be a local joke, but wherever you live, it is so much easier to have a design that can be built indoors, in a barn, workshop, or even pre-drilled for assembly in the kitchen, as we did! No need to be bored in winter. You can build this hen house in comfort indoors and then carry it outdoors and install in situ during the first sunny days of spring.

A more personal reason for this “kit form” of design is that we are putting our house on the market and intend to buy a plot of land to build our own eco-home, probably in Brittany. The hen houses, therefore, can be taken with us, providing the hens with instant accommodation and security, both physical and mental. Furthermore, we plan on building a larger version for us to live in. This is not only cheaper and more sustainable than buying an RV, but it will leave us with a ready-made guesthouse for family and friends.
What You’ll Need: Materials
- 24 standard (120cm x 80cm, or roughly 2’ x 4’) untreated pallets. These include the four used for the base. If you only have a few hens, the base can be cut down, but for ease of cleaning and access, trust me, the height should be kept the same.
- 24 planks (1800mm in length and 23mm thick, or roughly 6’ x 1”). These were cut down to a width of 40mm (1 ½”). To do this without needing to clamp the wood, which is really tedious, Andy made up a variation of an old tool, which he called a plankcutter’s holdfast. The planks came from the upright pallets used to transport furniture and can be found at most outlets selling sofas, beds, and larger items. They are also used by companies making or transporting glass and double-glazed window units, so look around your area to see what’s on offer.
- For the hen house roof, we originally used 10 square meters (about 33 square feet) of salvaged and leftover 10mm-thick (1/3”) tongue and groove cladding, but recently we have been coming across more and more thin pallet planks, which are light enough to do the job. They do not, however, come in the same lengths, so in order to make up the shortfall, Andy again put to use an old technique for joining planks end on, known as reinforced butt joints. This means even less wastage but also less firewood!
A note on where and how to find untreated pallet wood:
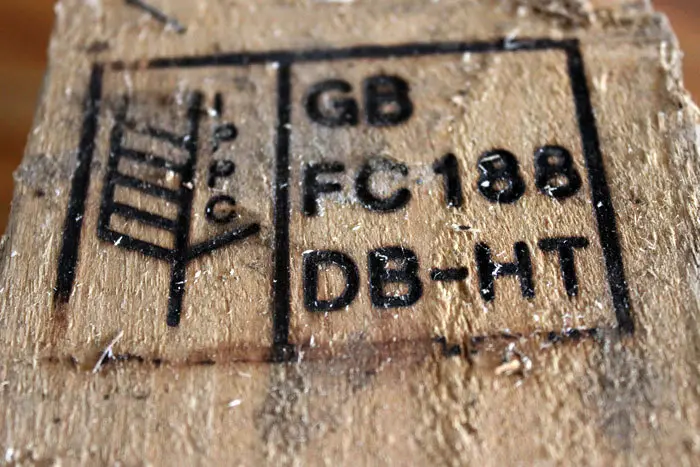
If you are new to the art of scavenging, we created a couple of articles: Collecting Pallets – A Few Guidelines and Collecting Pallets – How – Where – What. The what is directly linked to the where, and understanding what pallet codes mean is the key to finding an excellent source of free carpentry wood. Pictured above is a block from a British pallet, debarked and heat treated. To help you obtain the optimum amount of usable wood, we also have produced the film below.
The only real cost for this hen house, apart from a few nails, screws, and 4 metal hinges, is the price of the roof covering: a heavy duty tarpaulin, costing around 25 Euros ($35). This is necessary if, like us, you are living in an area where you can get heavy snow and rain. Other materials involved are the wood finishes, in our case hemp and linseed oil. We also used natural earth and mineral pigments and découpage.
What You’ll Need: Tools
Hand Tools
- Saw
- Hammer
- Spanner for coach bolts
- Tape measure
- Set square/tri square
- Spirit level
You could build this hen house entirely with hand tools with the addition of:
- Hand drill
- Screw drivers
If available, however, you can use the following:
Power Tools
- Electric drill
- Portable rechargeable drill
- Circular saw
What To Do: Construction
The film below shows the detailed steps involved in making this hen house, including a white board tutorial at the beginning that gives you an overview of the design. For those who prefer, however, the hen house has also been produced in blog form and can be found here. There are four blog posts to cover the hen house project and the links for the subsequent one is given at the bottom of each post.
What To Do: Assembly
The next film shows us demolishing the old hen house and setting up the foundation for the new house. It also shows the small trolley device Andy set up for moving the panels of the hen house into the garden, a very useful tool if you are handling this project on your own. The film then guides you through the whole assembly process.

The Finishing Touches
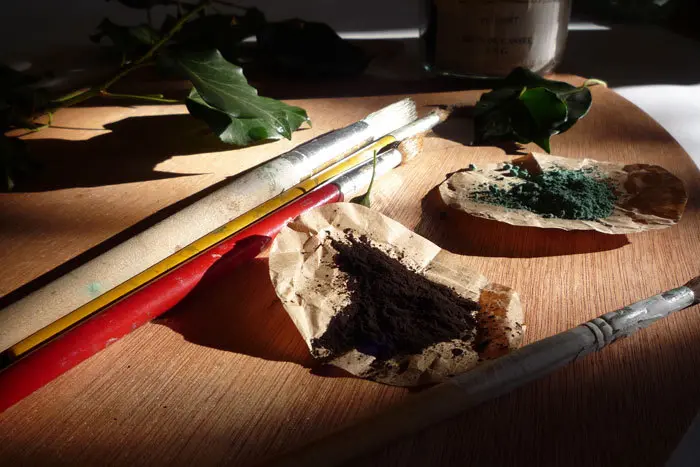
The house is protected with a layer of organic hemp oil, which is nontoxic and extremely hard wearing. To create some sort of homogeneity in the colour of the pallet wood, I use a blend of several earth pigments. If you have never used these before, I have written a post explaining how they are made, and how you can use them to create your own unique colours.
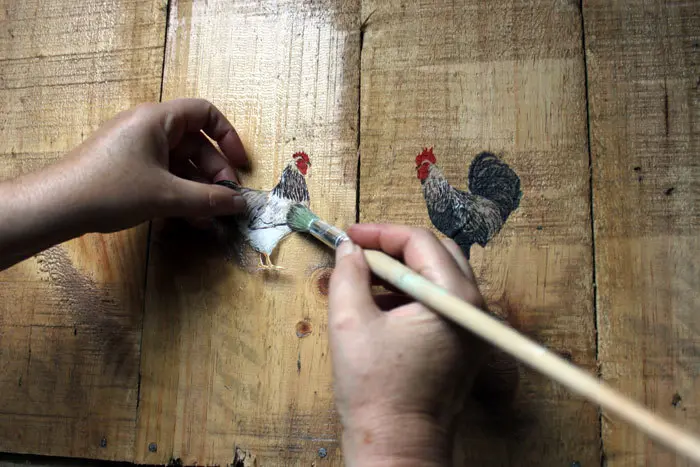
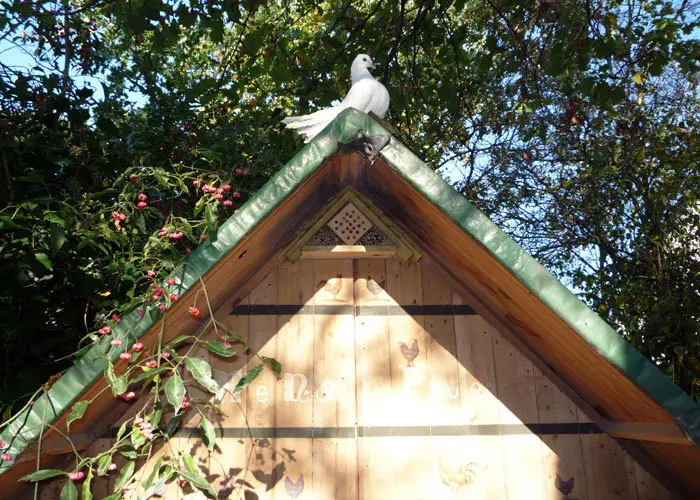
The front gable panel is decorated with découpage cut from paper napkins and is applied using a water-based acrylic varnish. In the hen house shown below and at the start of this piece, I cut letters from wrapping paper to complete my design and also used earth and mineral colours to create borders. I always use this same varnish to finish off the panel, rather than oil, which could damage the paper.
Andy created the door handle from a tree branch. It has a really great feel to it and suits the hen house and its wooded setting.
In Conclusion
Maybe you’ve never used tools nor done any DIY and you’ve got through to here and found it all a little overfacing. Perhaps you would like to start with something smaller and simpler. Consider this: As I write this, it’s February, and the wild birds are already looking for nesting sites. Why not make them a natural, untreated pallet wood and fruit crate home? (You can see it just under the apex of the hen house roof in the photo below.) It’s a good start and could lead on to greater things!

All the very best and thanks for dropping by.
Sue and Andy xx